Aquabag
How to store, use, and dispose of Aquabag


“The Inflatable Sandbag”
Storage Instructions
Aquabag water absorbent sandbag may be stored in a clean, dry environment, tightly sealed in the original container for up to 5 years or more. Exposure to the air while stored will cause bag to absorb moisture from the air and degrade the polymers over time. Keeping them sealed can prevent this absorption and maintain product integrity for a longer period of time. They store just like empty bags would store, but they are ready to deploy directly to the flood threatened site with no stops for filling with sand.
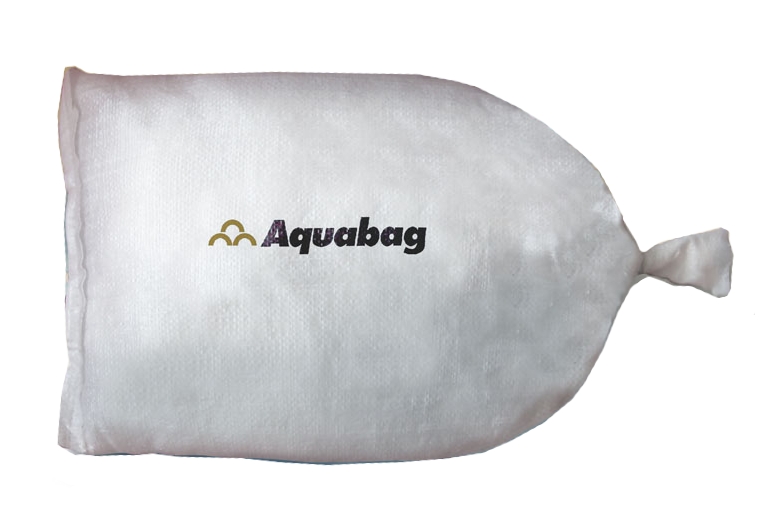
Dry Bag 1½ lbs.
The bags come like this.
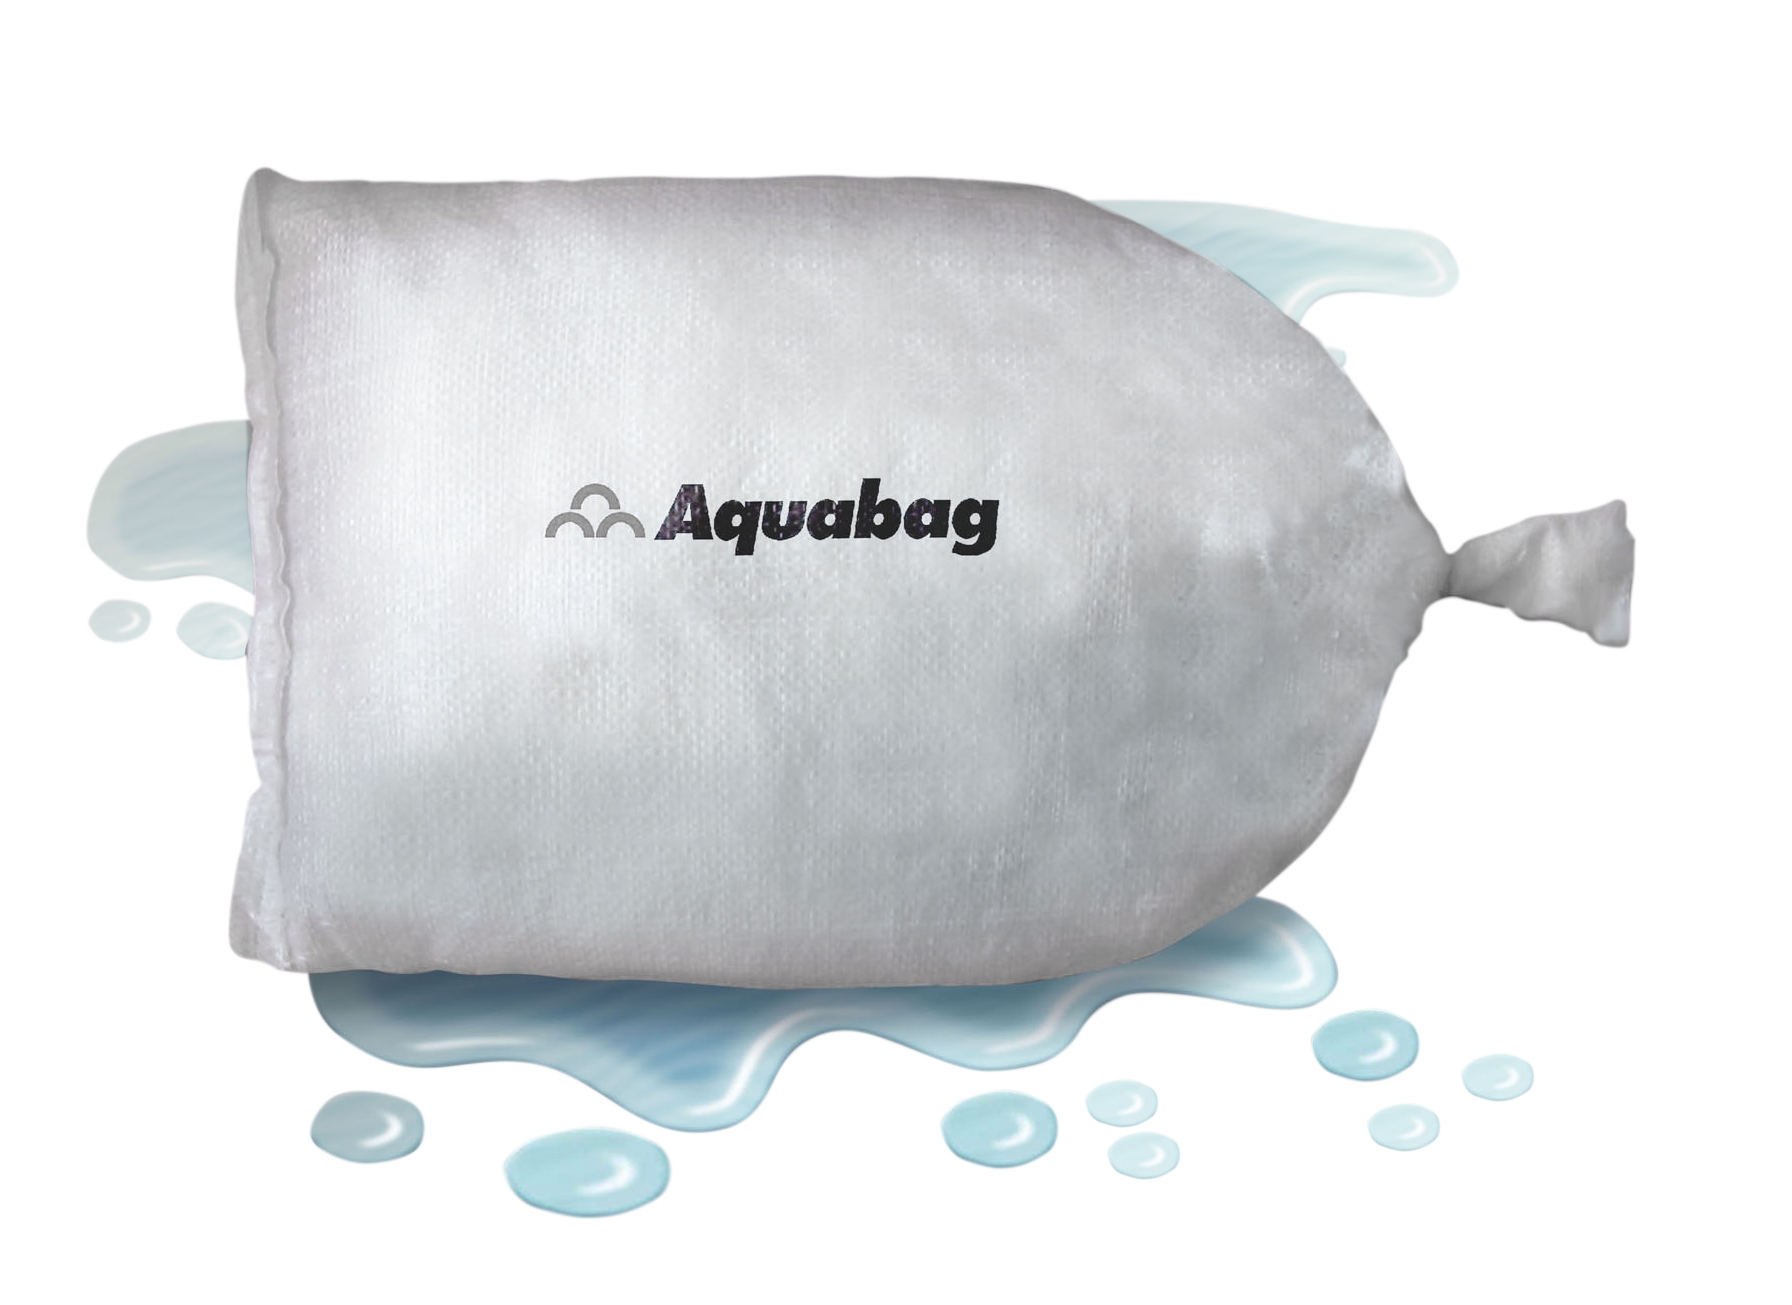
Inflated Bag 32-36 lbs.
After soaking a few minutes.
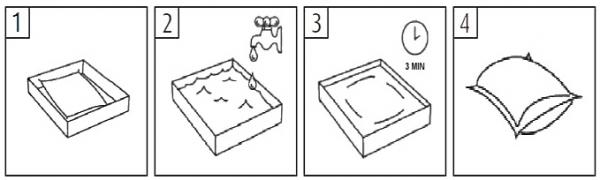
Inflation Instructions
Aquabag can be inflated by submersing them into a container of fresh water. For large quantities, a small pool, creek, or pond may be used, as long as it is fresh water, not salt water. Typical inflation time is 3-5 minutes.
Installation
As you begin your levee, remember that the base of the levee needs to be roughly as wide as it is high. As you attempt to go another layer higher, you must start at the bottom and add another layer all the way to the top. This provides the necessary lateral strength to withstand the force of the water against the face of your levee. Your levee will also gain strength if you alternatively turn bags perpendicular to each other as you build, interlocking them like bricks in a wall.
Protecting Entrances
Aquabag works especially well at doors and ground-level windows when you place plastic sheeting on the ground in front of the closed door/window you want to protect, 3-4 feet away from the wall. Place a row of Aquabag Inflatable Sandbags onto the plastic along the edge furthest from the house, preferably in a “horseshoe” shape from the wall adjoining the door or window and around to the other side. Place another row in front of the first row and pull the plastic that protrudes out from the front up and over the first row of bags. Place the second row on top along the seam in the center between the bags in the first row. leaving 2-4 feet of plastic on the ground. For this second row, alternate bags in both directions to give the wall strength. Continue upward, if necessary, by starting each new row from the ground all the way up to the top. You can’t just stack another row on top; you must add to the width at the same time as you add to the height or the water will push your wall over.
After Use Disposal
The Aquabag can be left outdoors to dry in the sun until flat and then disposed of. A fully inflated bag can be cut open as shown and the polymer allowed to leach into the soil. It makes a good fertilizer as it holds moisture. An alternative method is to soak it in 5-10% salt solution (CACL) and it will shrink to its original size more quickly and be ready for disposal sooner.
If you want to download and print a brochure for personal use or for distribution, you can click on this link: Aquabag Brochure
You may also want to download a Material Safety Data Sheet for review.
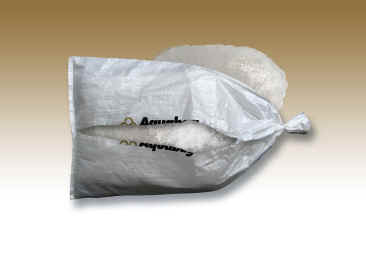
Aquabag Cut Open to Show Contents After Use
FREE Basement Evaluation Checklist
Click the "Free Checklist" button to receive a free Basement Evaluation Checklist to use as a guide to protecting your basement from flood damage. This is a worksheet designed for you, the homeowner, to put the important information regarding your basement onto one sheet and to use it as a guide for risk management.
FREE Basement Evaluation Checklist
Fill the "Form" to receive a free Basement Evaluation Checklist to use as a guide to protecting your basement from flood damage. This is a worksheet designed for you, the homeowner, to put the important information regarding your basement onto one sheet and to use it as a guide for risk management.